Are you up for the challenge?
PUBLISHED ON PIKECOUNTYCOURIER.COM
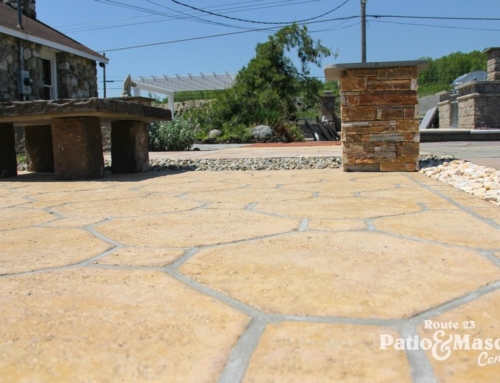
The guys over at Route 23 Patio & Mason Center are dishing their secret recipe for the perfect patio.
“It’s not easy, but we’re here for you every step of the way,” says Sean Hughes, the store manager.
Most days, you can find him behind the counter at Route 23 Patio helping a wide range of clients from all over the Tri State Area: a carpenter from Sparta, NJ, a first time Do-It-Yourselfer from Warwick, NY, a contractor working on a home in Milford, PA. They all have one thing in common: they count on Route 23’s accessibility, personal touch, and customer service—something you can’t get at a Lowe’s or Home Depot.
“Installing pavers is a big project, but anyone can do it with the right tools,” adds Sean. “And if you find the task is too daunting, give us a call and we’ll get you the help you need.”
You’ll need the following:
Stop by Rte. 23 Patio & Mason Center to pick them up and ask any questions
• Wooden stakes
• Mason line
• Shovel
• Level
• Line level
• Measuring tape
• Push broom
• Marking paint
• Safety glasses
• 1-in diameter PVC pipes
• A 2×4
• Paver stones
• Paver base
• Paver leveling sand
• Landscape nails
• Landscape fabric
• Hand tamper (or, use a rented plate compactor instead, which is faster and easier)
• Edging stones
DIY Paver Installation Steps
A. First thing’s first
1. Call 811 and request to have underground pipes and wires marked so you don’t dig in those areas.
2. Make a plan: decide where you’re putting the patio, its size/shape (keeping it square or rectangular will be easiest), which pavers you want to use, and which pattern you want to lay them in. Find the total square footage of your project so you can figure out how many pavers and how much sand you’ll need (Rte. 23 will help you figure out the right amount).
3. Outline where your future patio is going to be with marking paint.
4. Figure out the slope (don’t worry, this isn’t as bad as Common Core Math). You want the pavers to slope slightly away from your house to help with water drainage. Set a stake at the point on your outline that is closest to your house, and another at the point on your outline furthest from your house. Mark where the height of the pavers will be on each stake with a marker. Tightly tie mason line to each stake, using the line level to measure slope. With every 4 feet, the slope should dip about a half inch.
B. Dig it
1. Dig out your project space, accounting for the height of your chosen pavers, PLUS 4 inches of paver base and 1 inch of paver sand.
2. Continue to check your depth against the mason line using a tape measure.
C. The Base-ics
1. Use hand tamper or plate compactor to pat down the soil
2. Add a layer of landscape fabric to cover your project area
3. Fill with 4 inches of paver base
4. Wet the paver base using a hose, then level the base with the hand tamper or plate compactor. Be sure not to step on areas after they’re leveled.
D. Get sandy
1. Lay PVC pipe along length of project. This will let you gauge the 1-inch layer of sand
2. Pour in layer of sand over PVC pipe. Use 2×4 to level the sand.
3. Remove the pipes, add a little more sand to fill in where they were, and level again with the 2×4
E. Paver placing
1. Start in a corner and work your way outward, placing your pavers straight down into the sand, snug to one another.
2. Install edging stones along the perimeter with landscape nails
3. After all pavers are placed, add layer of paver sand over the area, filling the cracks between each paver. Use a push broom to spread it across the patio evently.
4. Use the hand tamper or plate compactor over the area again.
5. Use a leaf blower to get any extra sand off the patio—and you’re done!